Axolotl offers a robust, flexible framework for training LLMs using advanced techniques, supporting various model architectures and training strategies. Ideal for researchers and developers, Axolotl combined with Novita AI’s powerful, hardware-free infrastructure streamlines workflows, removing local hardware constraints.
This guide provides a step-by-step process to deploy and run Axolotl on Novita AI, unlocking the full potential of your AI model training projects.
How to Use Axolotl:main-latest on Novita AI
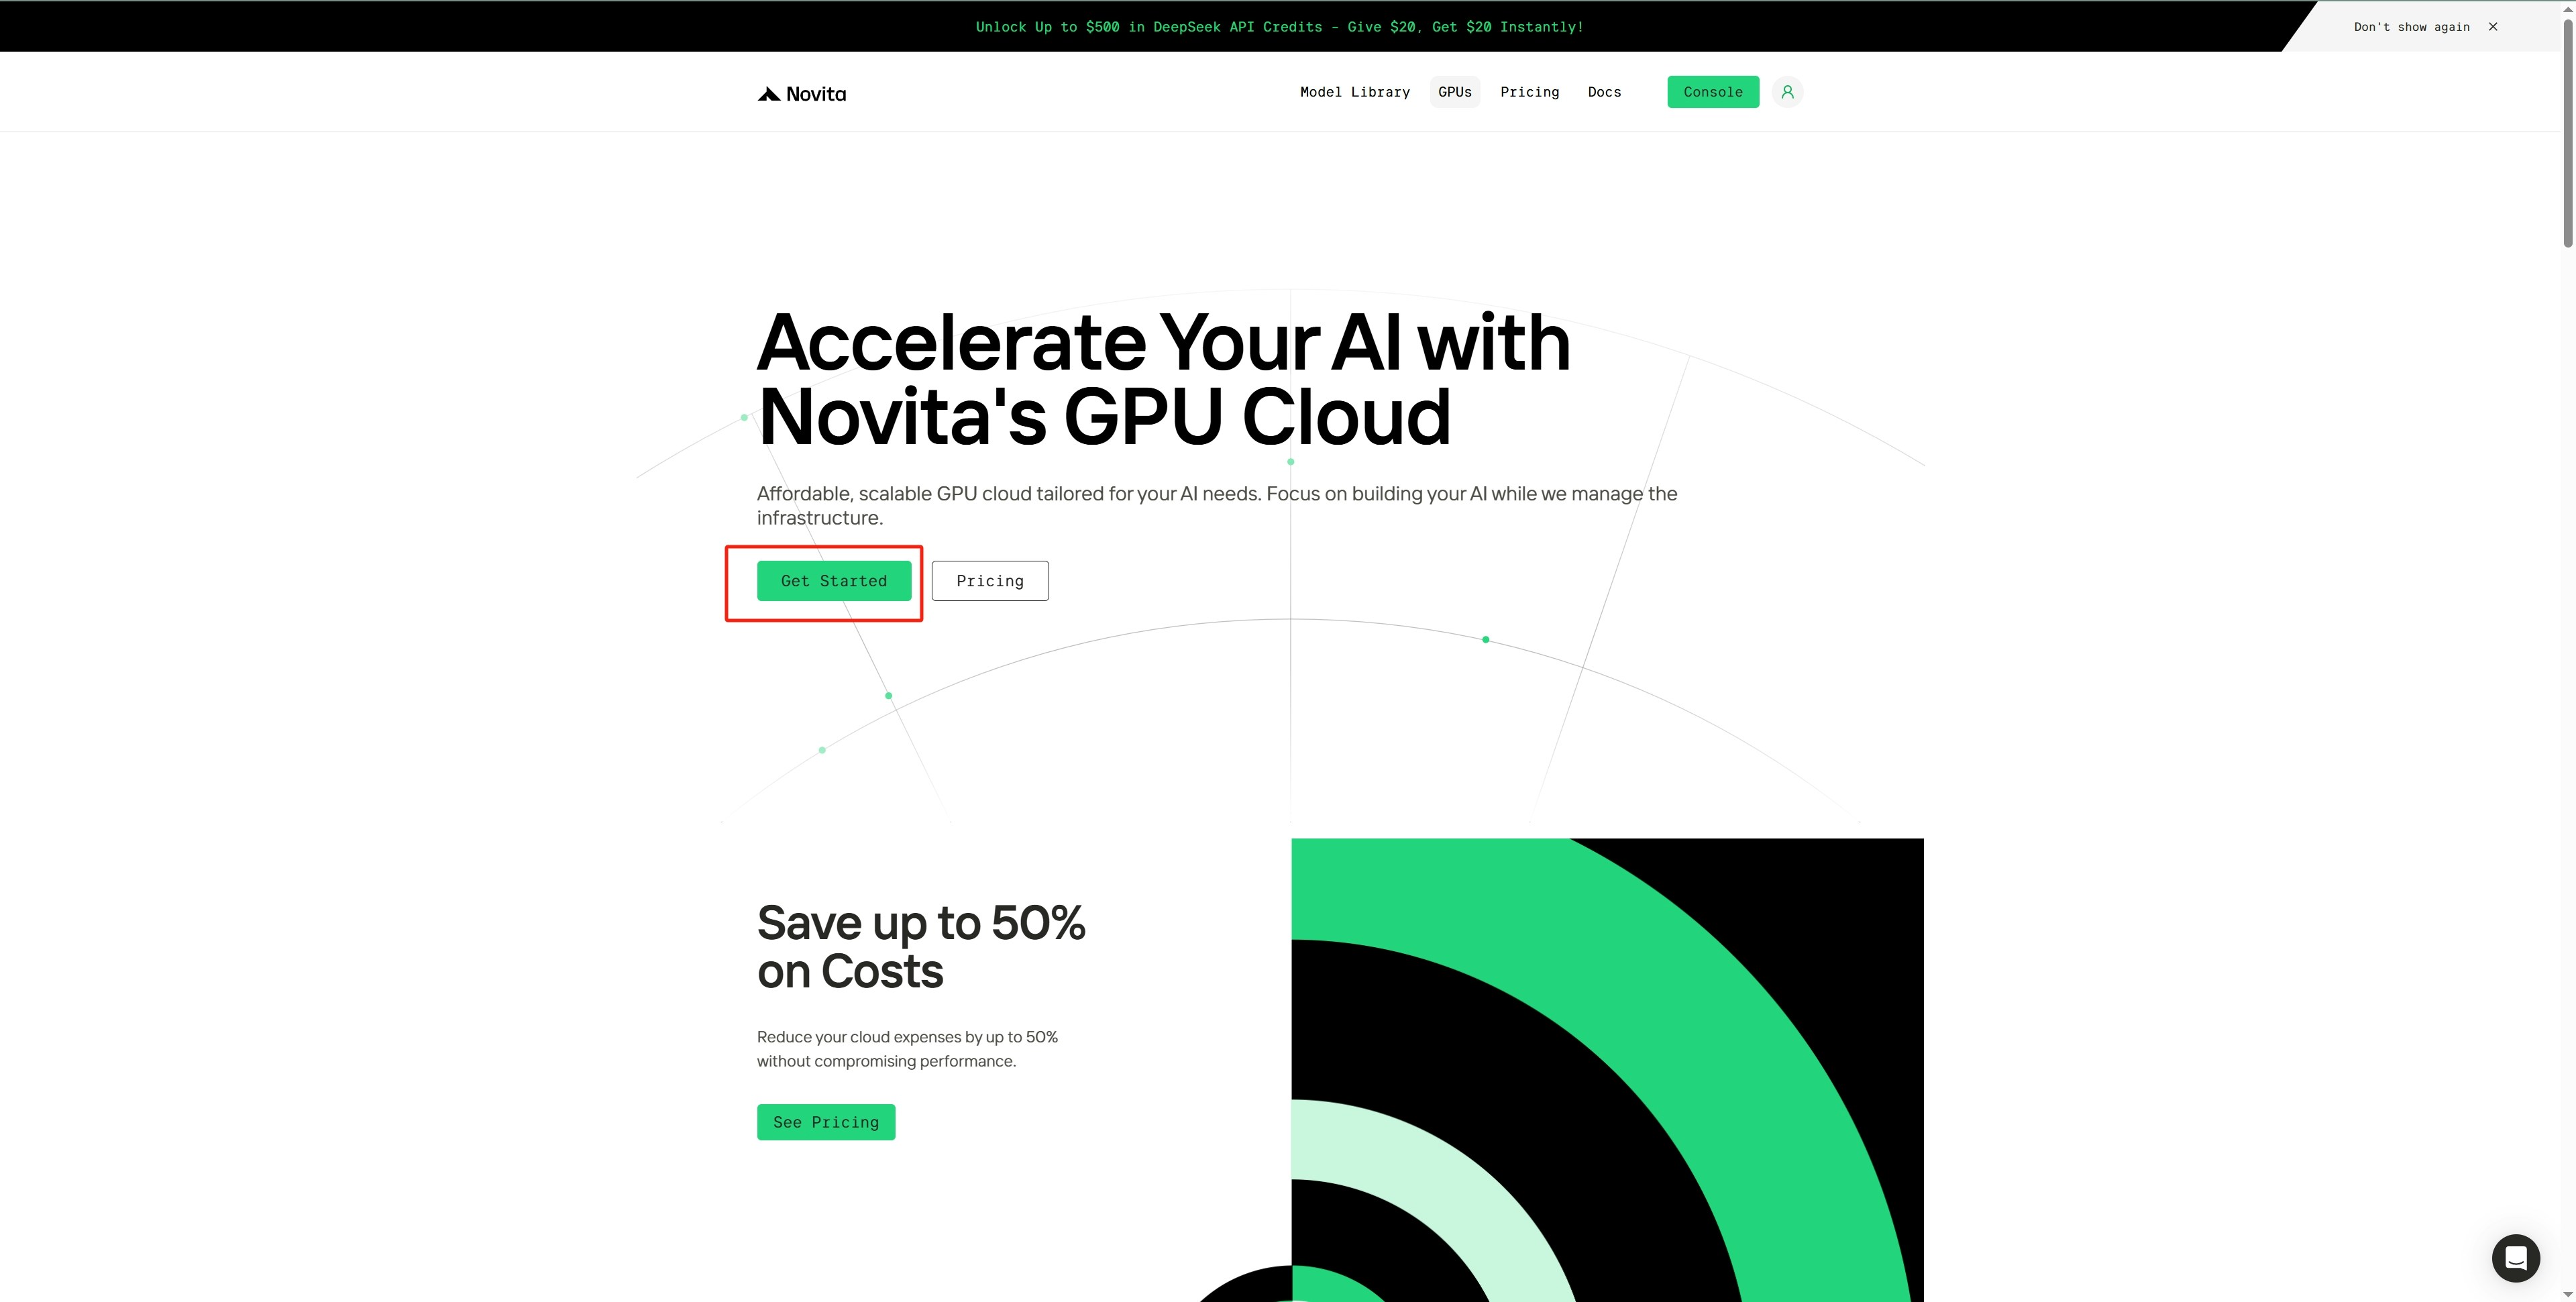
Step 1: Access the GPU Instance Console
- Click
Get Started to access the GPU Instance console.
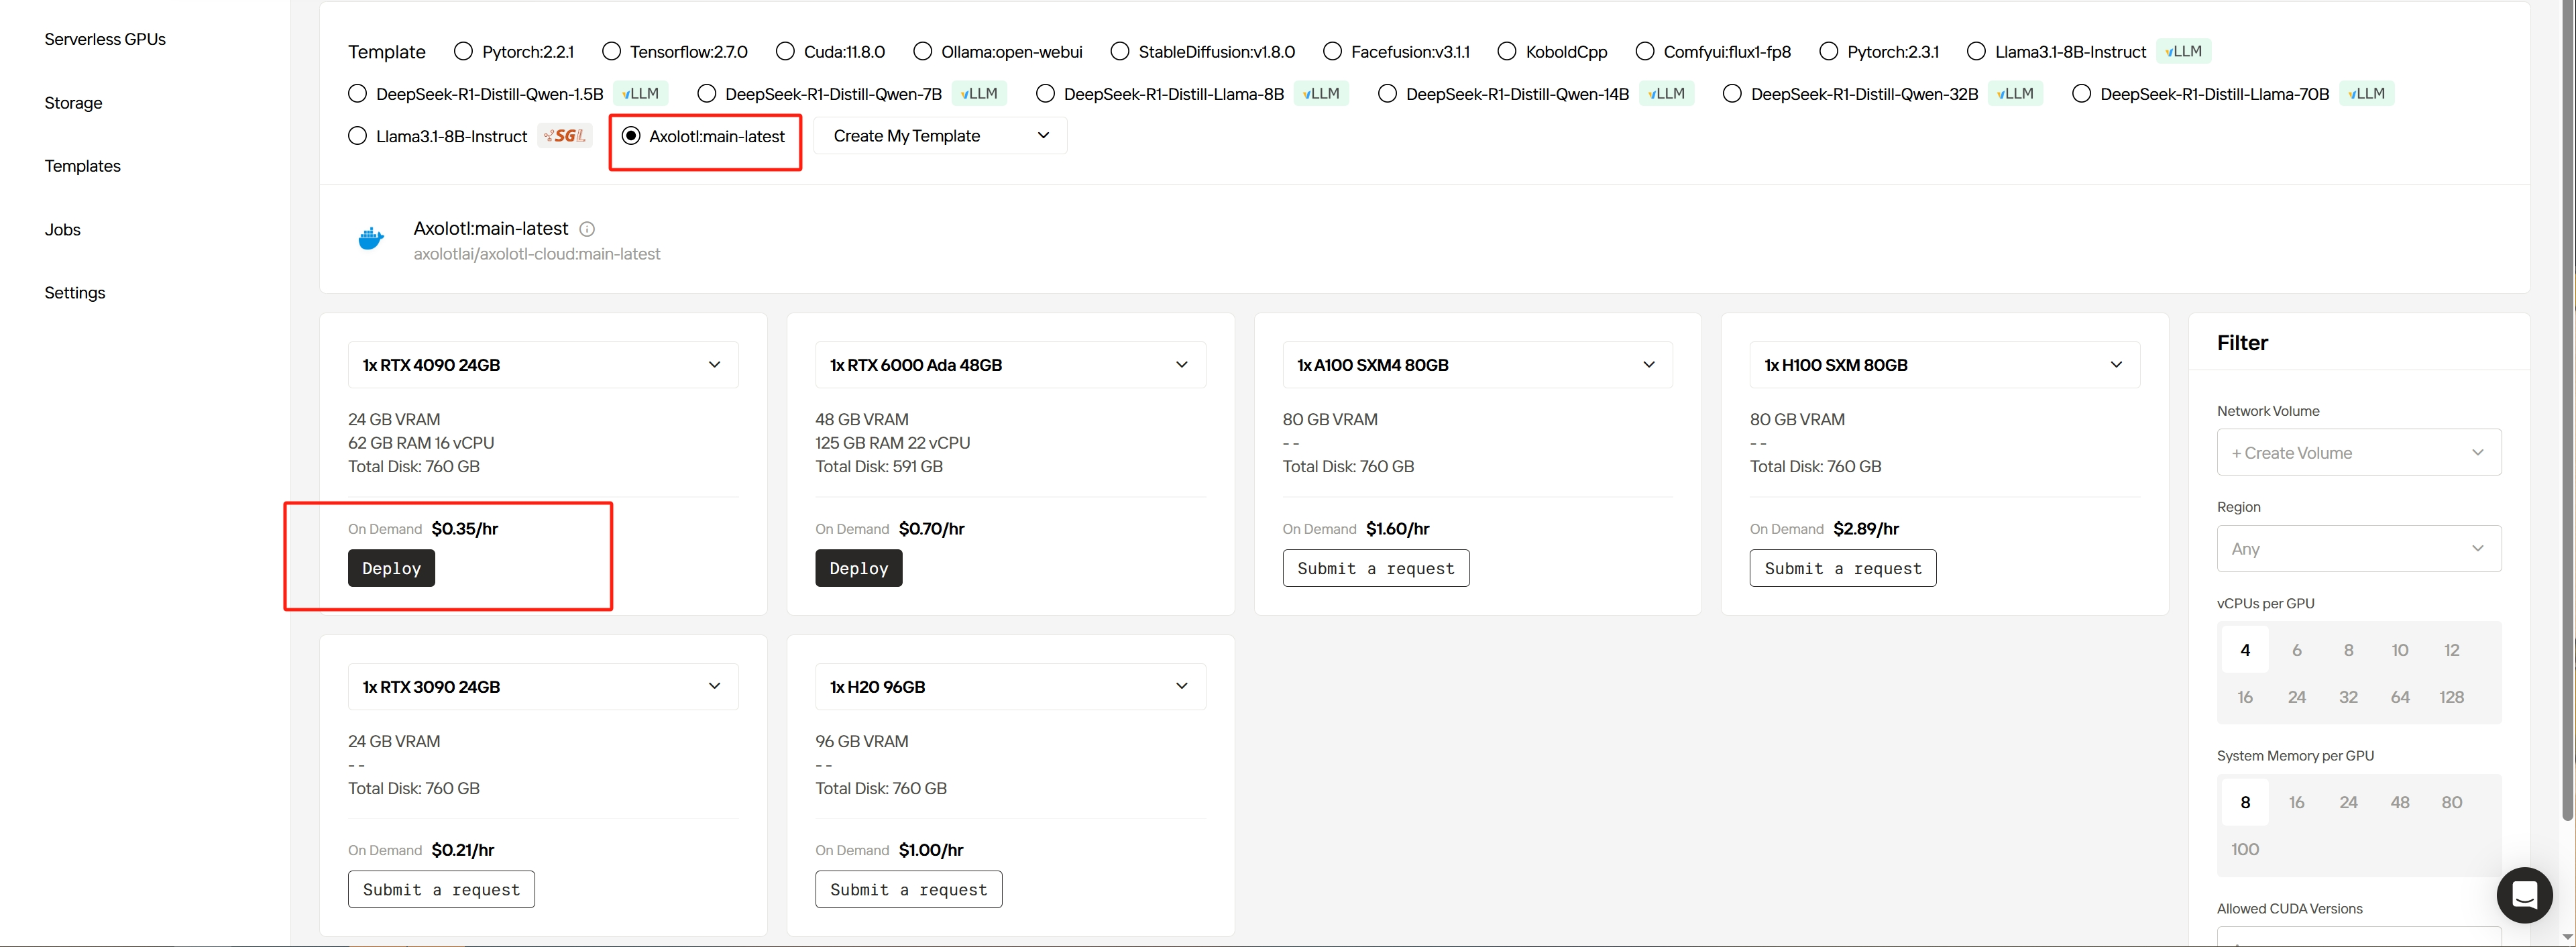
Step 2: Choose a Template and GPU Type
- Browse various official templates and GPU card options.
- Select the Axolotl:main-latest template.
- Click
Deploy under the 4090 GPU card to proceed to the instance creation page.
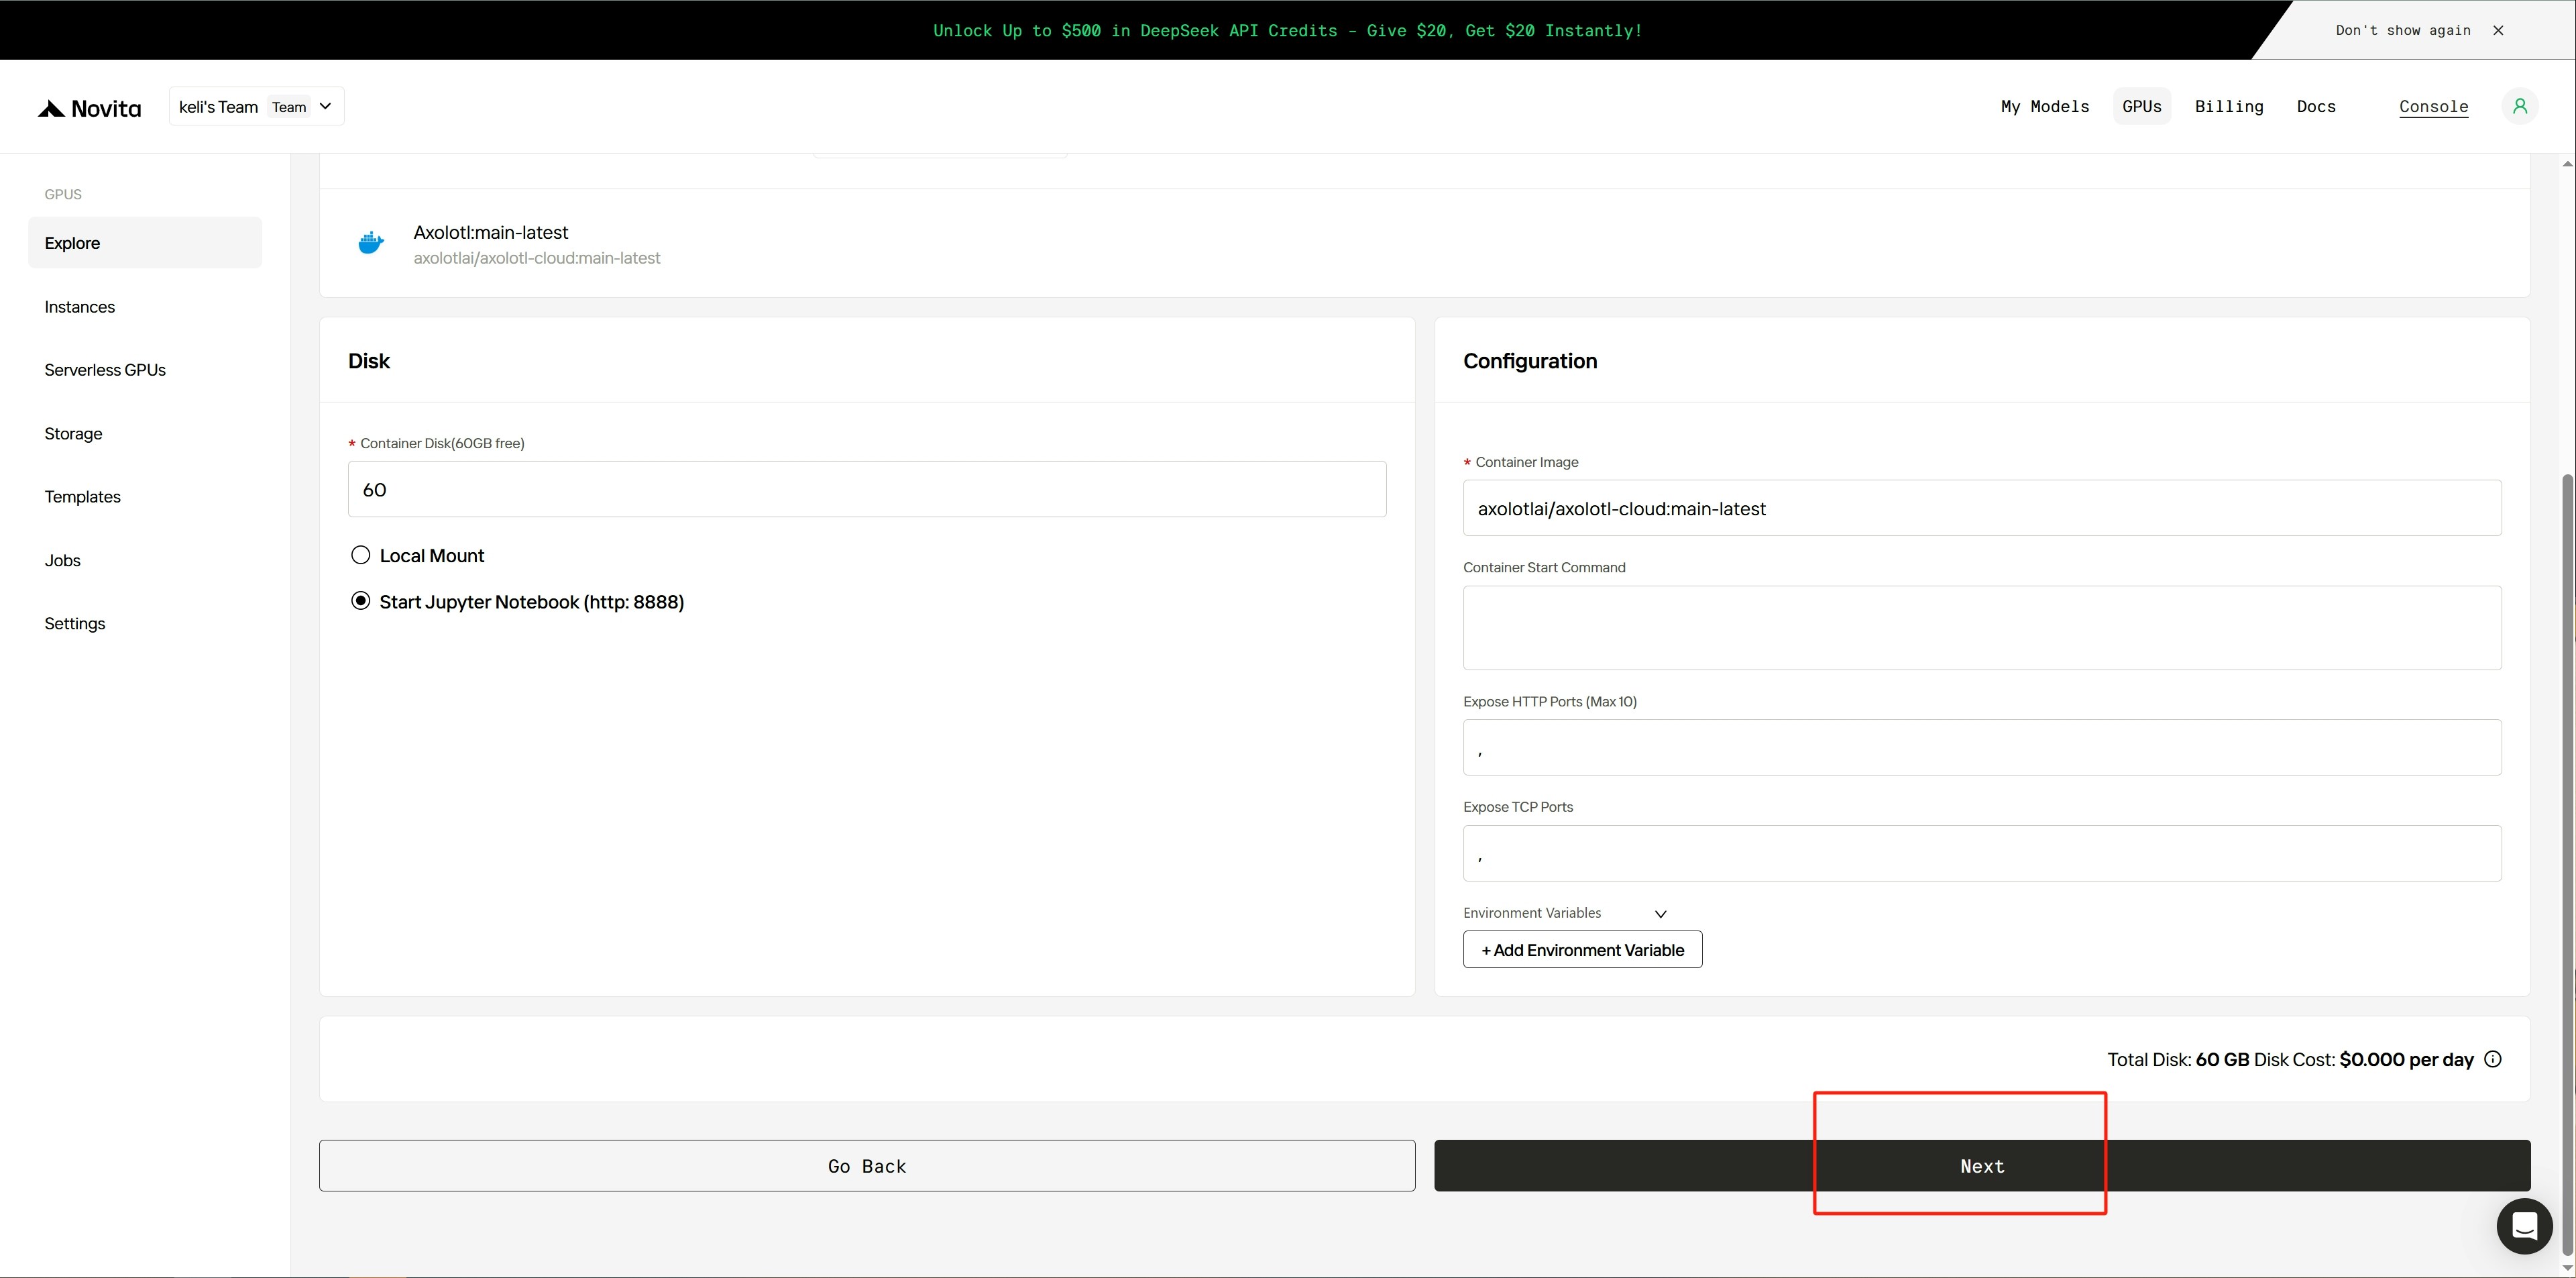
Step 3: Adjust Disk and Configuration Parameters
- In the
Disk section, adjust the size of the system disk and local disk.
- In the
Configuration section, modify settings such as the image, startup commands, ports, and environment variables.
- Check the box for Start Jupyter Notebook to launch Jupyter.
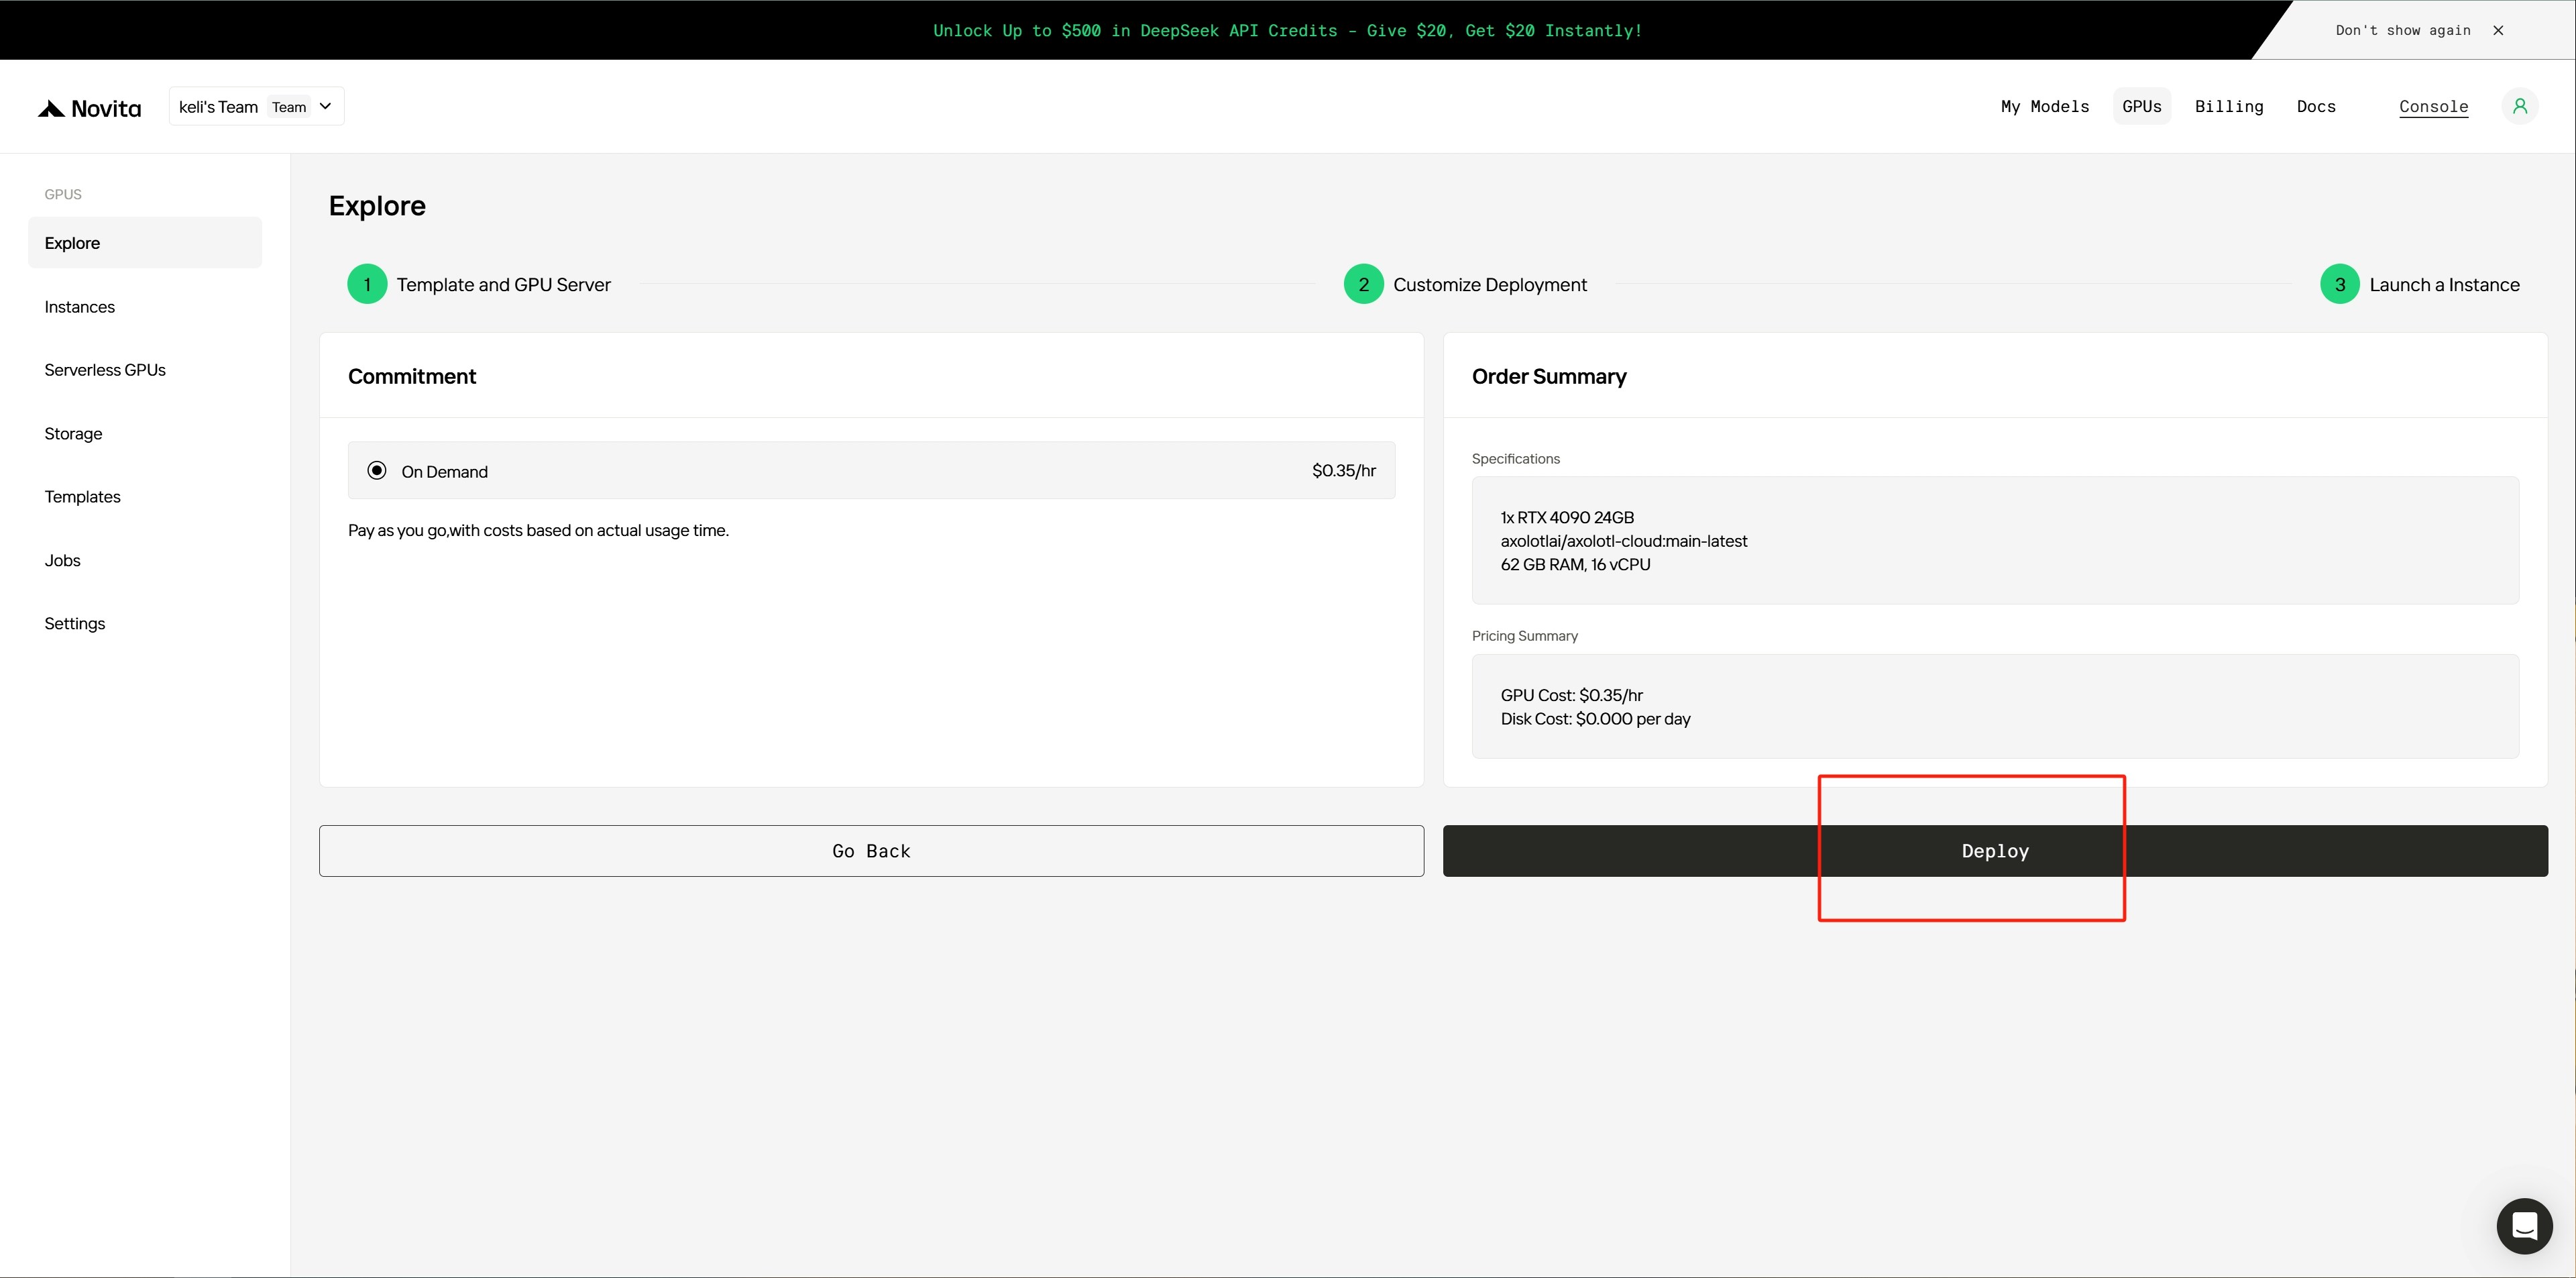
Step 4: Confirm Configuration and Deploy
- Review the instance configuration and costs on the confirmation page.
- Click
Deploy to start the deployment process.
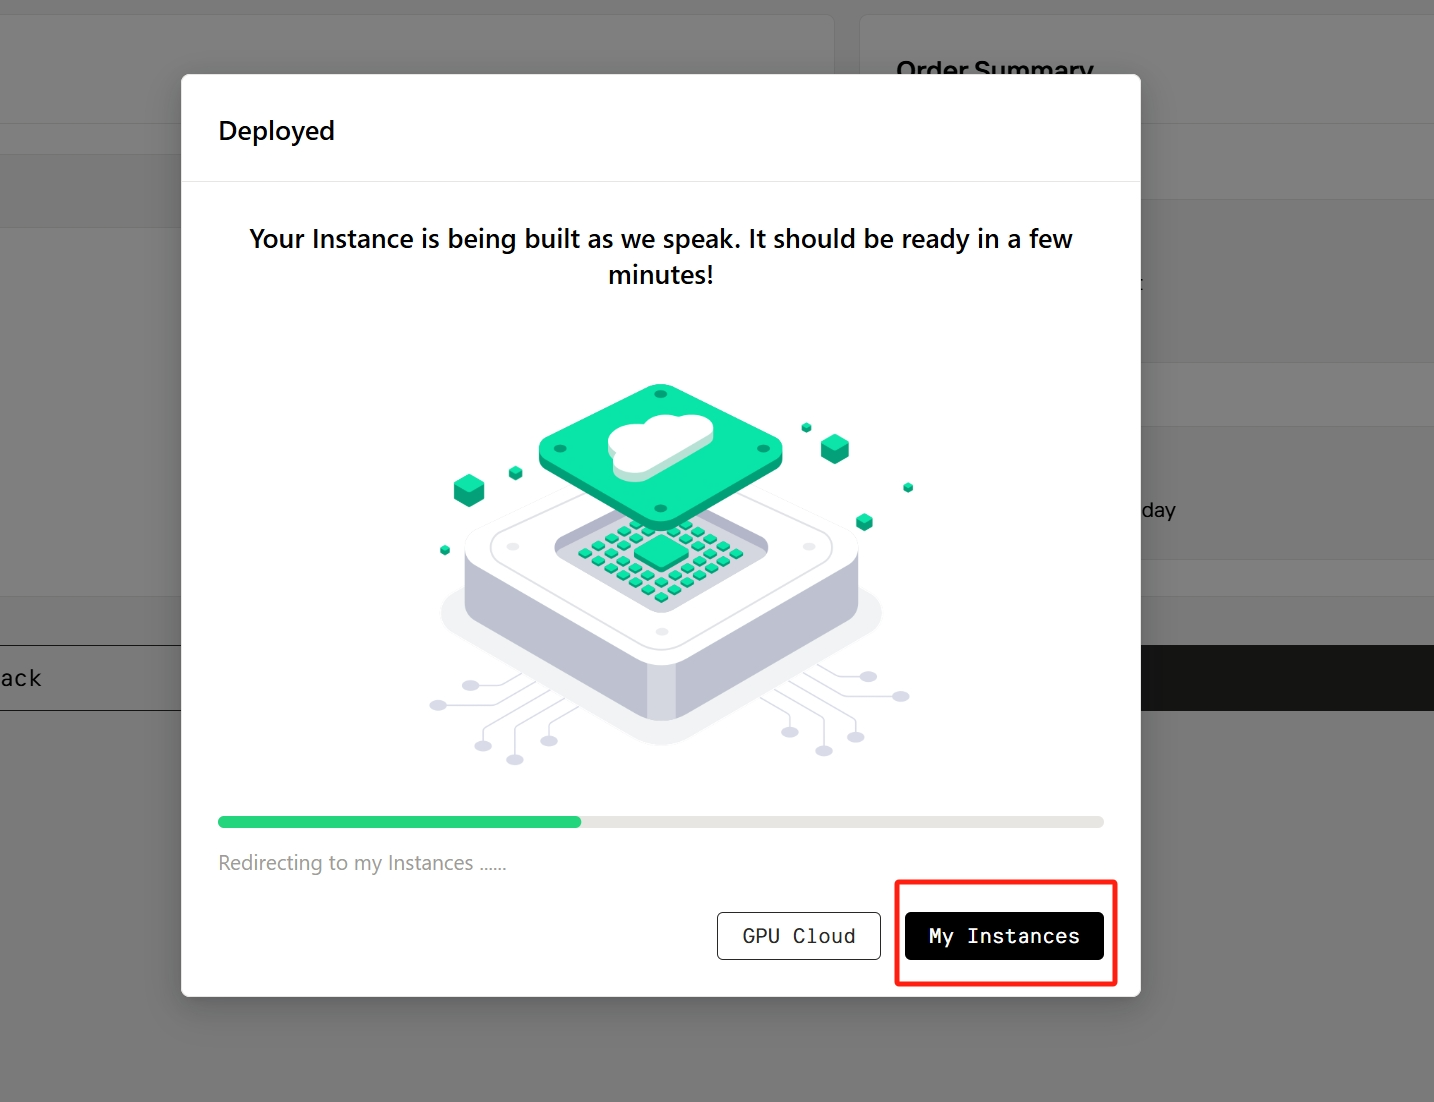
Step 5: Wait for Deployment to Complete
- Wait for the instance to finish deploying.
Step 6: Manage and Monitor Instances
- Once deployment is complete, the system will redirect you to the
Instance Management page.
- Locate your newly created instance, which will initially show a Pulling status (indicating the image is being downloaded).
- Click the small arrow on the right side of the instance to view details.
- Monitor the image pull progress. Once complete, the instance will transition to Running status.
- Click
Logs to view deployment logs.
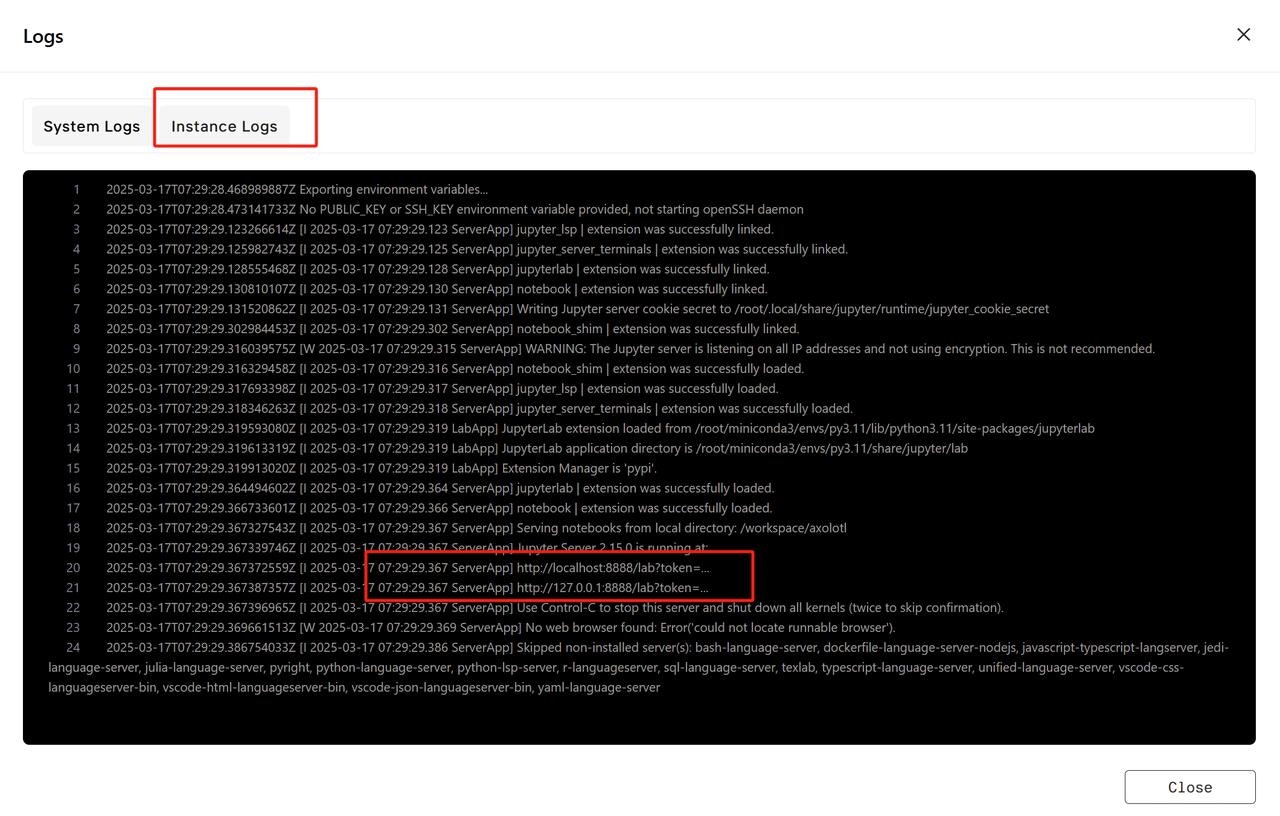
Step 7: Check Instance Logs
- Go to the
Instance Logs tab to check if the service is starting.
- Wait for the service to finish initializing.
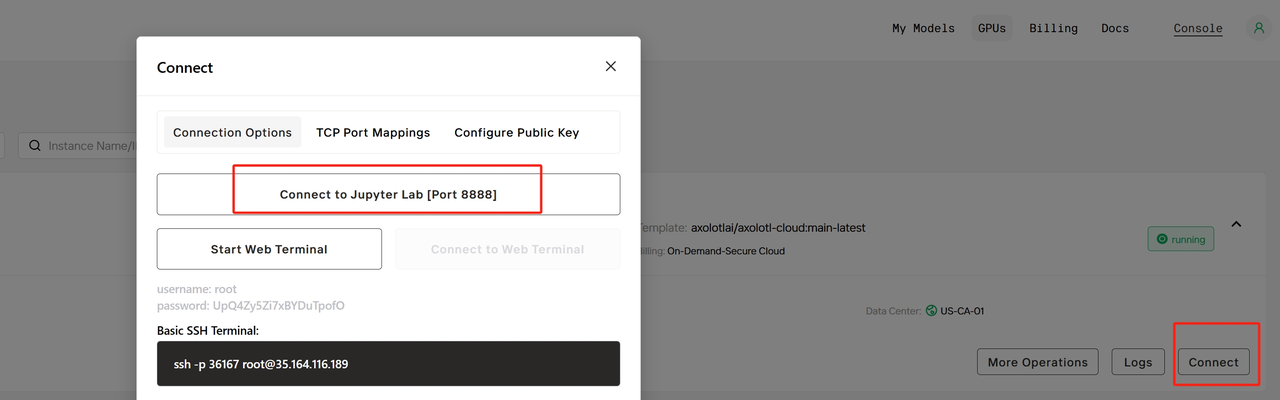
Step 8: Connect to Jupyter Lab
- Close the logs page.
- Click
Connect to open the connection information page.
- Locate the
Connection Options section and click Connect to Jupyter Lab to access the Jupyter interface.
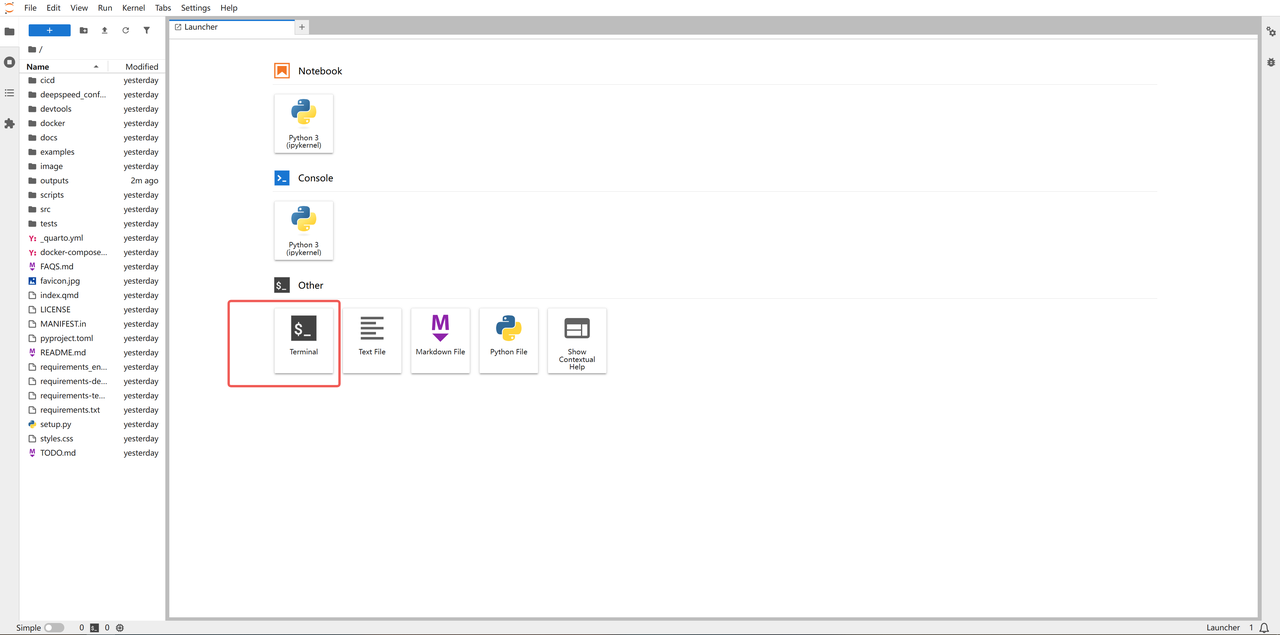
Step 9: Access Jupyter Lab
- Wait for the Jupyter Lab web interface to load.
- Open
Terminal to run an official example and verify the service is working correctly.
Step 10: Run a Fine-Tuning Example
- Execute the official example code to perform a fine-tuning task.
# Fetch axolotl examples
axolotl fetch examples

# Or, specify a custom path
axolotl fetch examples --dest path/to/folder

# Train a model using LoRA
axolotl train examples/llama-3/lora-1b.yml
Last modified on April 3, 2025