> ## Documentation Index
> Fetch the complete documentation index at: https://novita.ai/docs/llms.txt
> Use this file to discover all available pages before exploring further.
# Continue
> Discover how Continue and Novita AI join forces to supercharge your software development workflow.
The powerful integration of Continue and Novita AI brings AI-powered development directly into your coding environment. This can help you access intelligent code suggestions, automated testing, and real-time pair programming without switching contexts. Novita AI excels at deploying AI models instantly through our intuitive API, scales effortlessly with our cost-effective GPU infrastructure, and maintains peak performance throughout your development process.
Our step-by-step guide walks you through Novita AI implementation on Continue, covering methods of using Continue.dev and integrating Novita AI with Continue using an API Key.
## How to use Continue.dev?
### VS Code
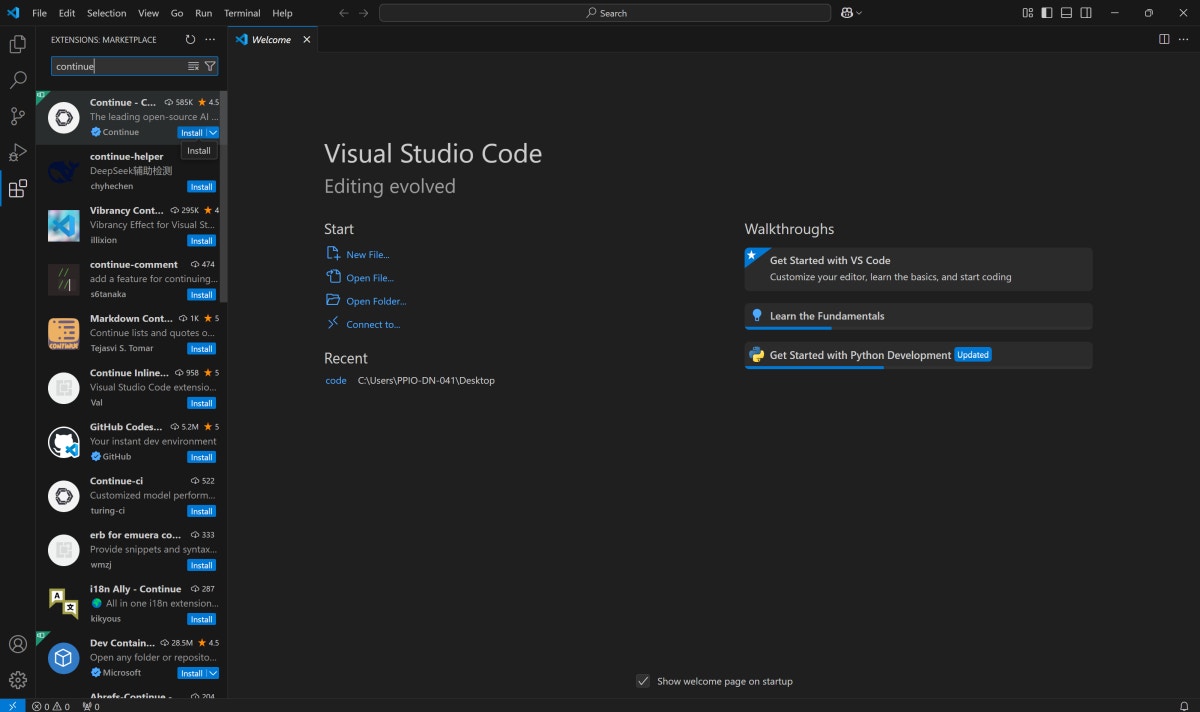
Step 1: Click `Install `to add the Continue extension from Visual Studio Marketplace.
Step 2: Click`Install`again in VS Code to complete the Continue extension setup.
Step 3: Move the Continue logo to your right sidebar for enhanced workflow access.
 ### JetBrains
Step 1: Access IDE settings by pressing Ctrl + Alt + S in your JetBrains environment.
Step 2: Navigate to plugins and search Continue in the JetBrains marketplace.
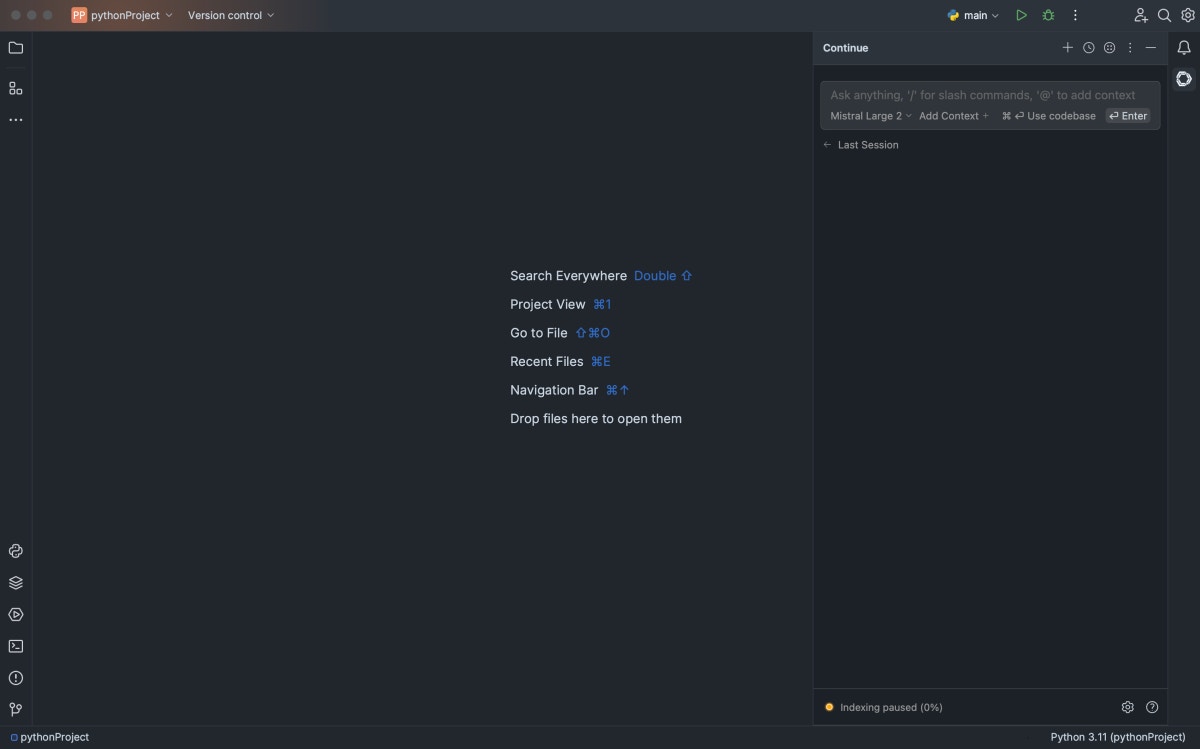
Step 3: Click `Install`and find the Continue logo on your right toolbar.
### JetBrains
Step 1: Access IDE settings by pressing Ctrl + Alt + S in your JetBrains environment.
Step 2: Navigate to plugins and search Continue in the JetBrains marketplace.
Step 3: Click `Install`and find the Continue logo on your right toolbar.
 ## How to Integrate Novita AI with Continue Using an API Key
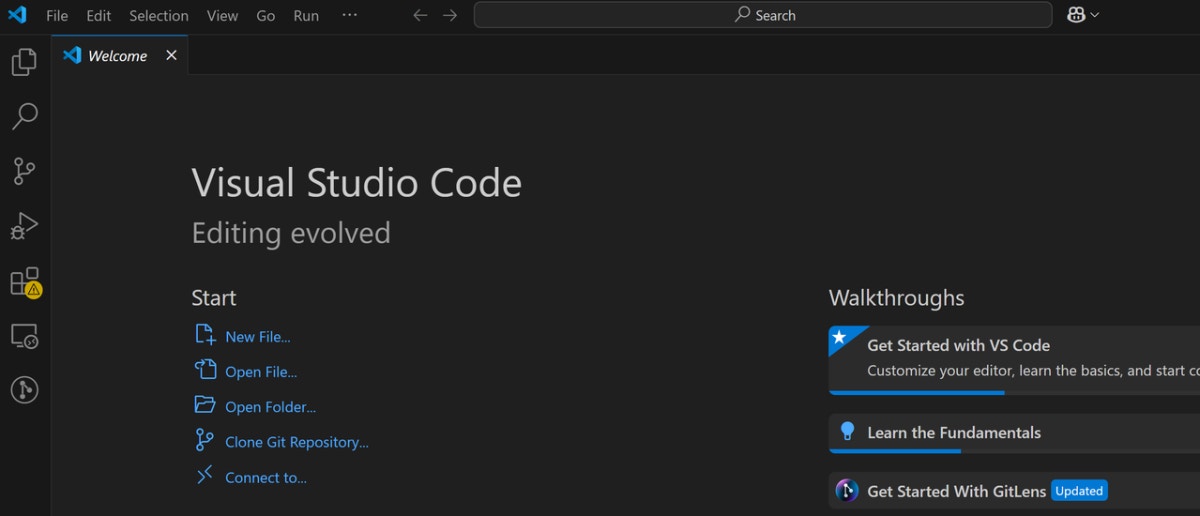
### Step 1: Open VS Code
## How to Integrate Novita AI with Continue Using an API Key
### Step 1: Open VS Code
 ### Step 2: Search Continue
* Navigate to extensions and search Continue in the top search bar.
### Step 2: Search Continue
* Navigate to extensions and search Continue in the top search bar.
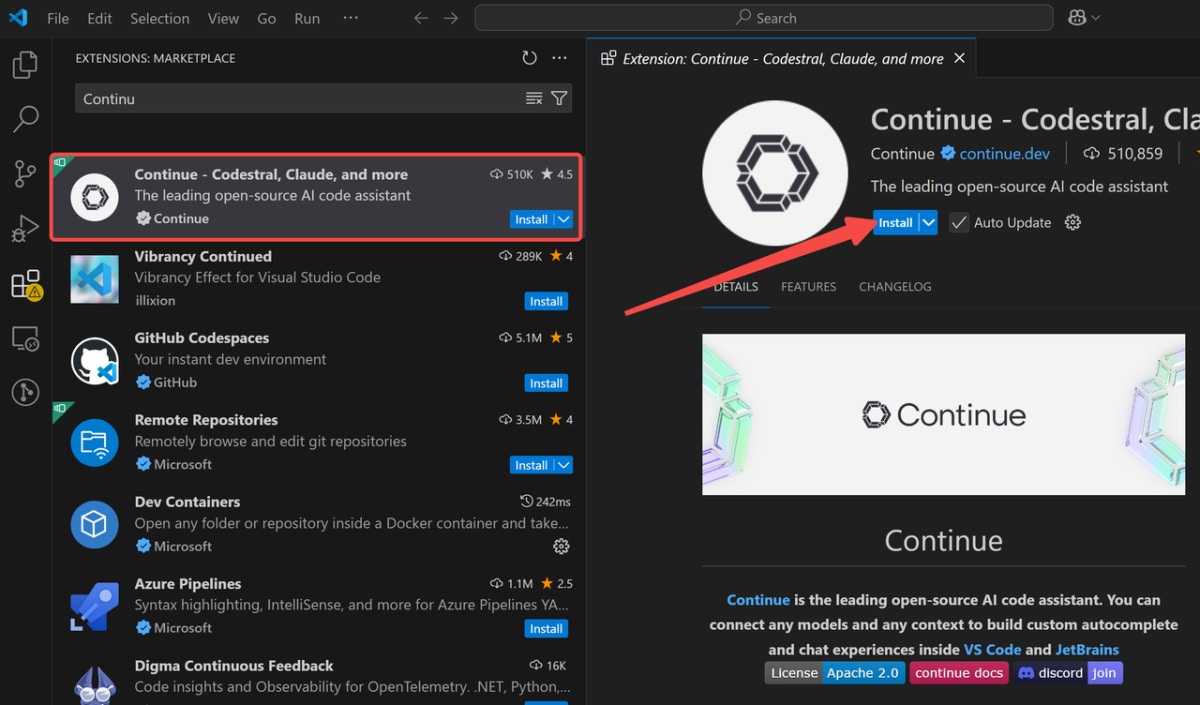
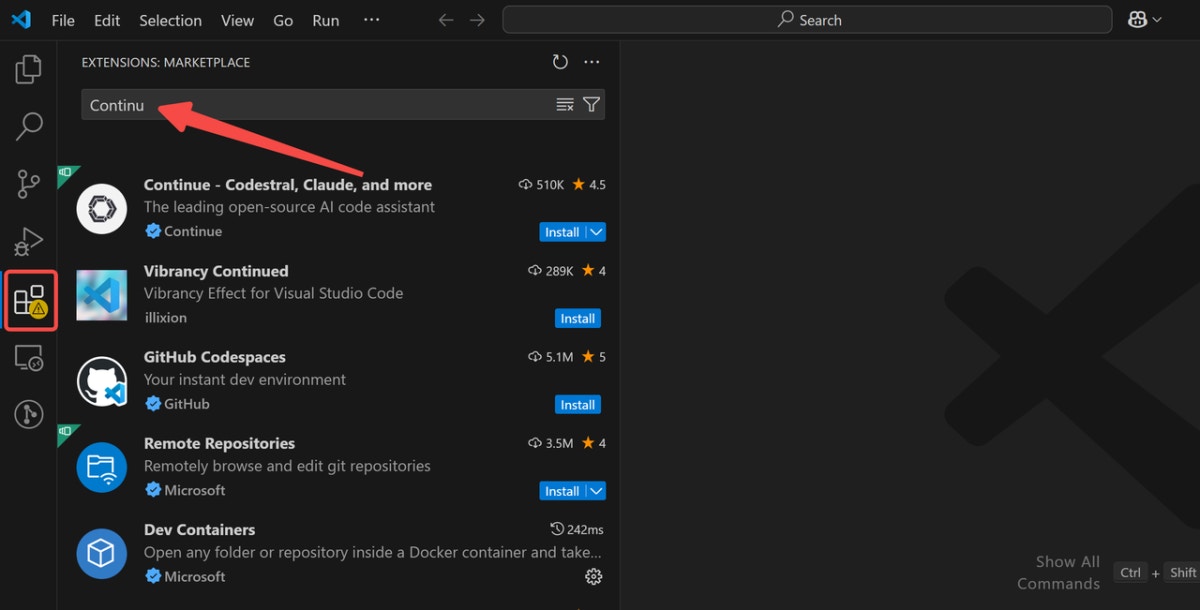 ### Step 3: Install Continue
* Install the Continue extension by selecting the first result.
### Step 3: Install Continue
* Install the Continue extension by selecting the first result.
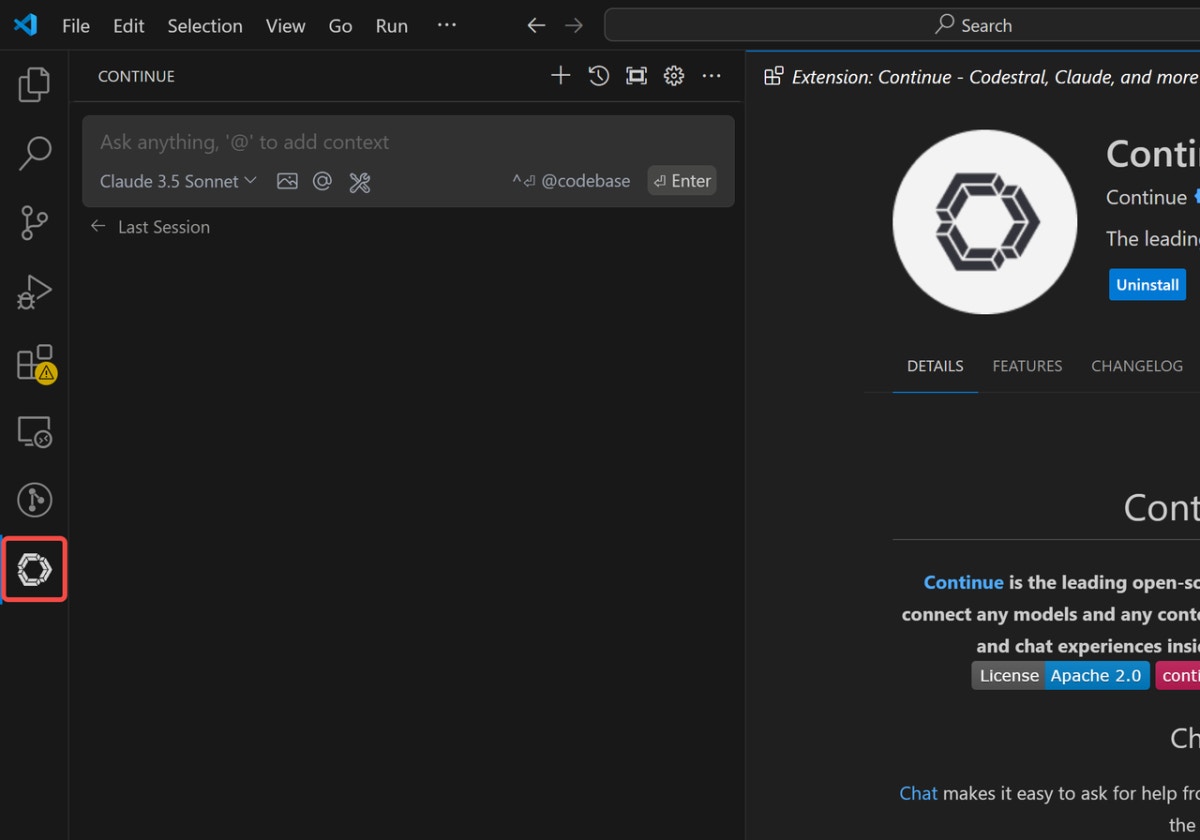
 ### Step 4: Click Continue
* Click the Continue icon on your left sidebar after installation completes.
### Step 4: Click Continue
* Click the Continue icon on your left sidebar after installation completes.
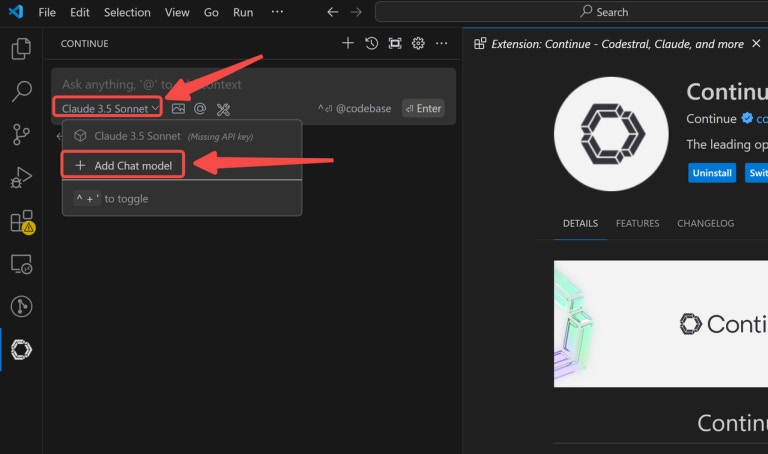
 ### Step 5: Add your Chat Model (e.g. Novita AI)
* Select Novita AI from the provider menu in each marked location.
### Step 5: Add your Chat Model (e.g. Novita AI)
* Select Novita AI from the provider menu in each marked location.
 ### Step 6: Enter the API key from Novita AI and Get Connected
* Copy your Novita AI API Key from the user avatar section for authentication.
### Step 6: Enter the API key from Novita AI and Get Connected
* Copy your Novita AI API Key from the user avatar section for authentication.
